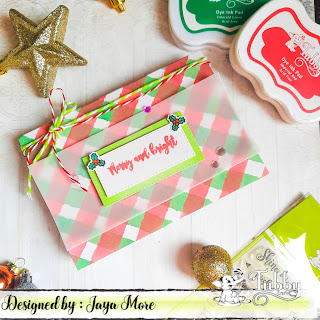
Merry & bright- Stenciled background card
Hi there!
It's almost December And I'm feeling the Christmas spirit at home and in the craft room! I stamped a lot this weekend and used my brand new stamps from Tubby Craft.
I swear I smile the entire time I'm using their fun and pretty stamps. They bring me joy for sure. I got to color, and glitter and generally get in the feeling of winter! I have two cards to share with you today! Let's kick off this season!
So Today I’m sharing this project over on the tubby craft blog featuring the watercolour lines stencil & shine on stamp set.
I die cut 2 stitched rectangle with white cardsotck & I blended some emerald green on the edges of the die cut. And For the sentiment I used the "Merry and Bright" from the same stamp set.
Positioned the stencil on the diagonal ensuring that corners were included, then used some low tack tape to hold the stencil in position.
Following the lines (from top to bottom) of the stencil I used a blending brush with "Imperial red" Ink pad.
I then lifted the stencil and repositioned it, so that the stencil lines covered teh "imperial red" lines I had just created. I then used the same technique with "Emerald green".
Once the tape and stencil are removed you can see the finished background grid, which I think is really pretty as they're.
I then moved on to the stamping using imperial red ink I stamped the sentiment and
Using the small piece of card, I coloured the holly leaves image. Then coloured it using Alcohol markers. then cut out the image and adhered it over the stamped image on the card.
Supplies used -
https://www.tubbycraft.com/penguin-love-2.html
Thanks for visiting my blog today, I love to read what you think of my projects so please do let me know. Please stop by again soon.
Details of the products I used for this project can be found below.
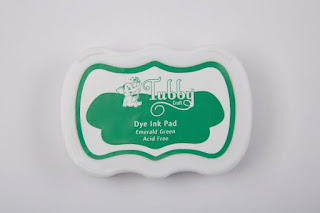
https://www.tubbycraft.com/emerald%20green.html
To purchase the product log on to -
Tubby Craft products are available at following online retailers -
Crafters Emporio


Comments
Post a Comment